Microplanning: areas, assignments, and tracking
Enable microplanning, create or import geographic areas, assign field users, manage boundaries, and monitor progress from the overview dashboard.
Introduction
ComMicPlan microplanning connects geographic catchment areas with forms and field users. Managers can import or draw boundaries, assign areas to enumerators, track field activity, and review progress from one workspace.
- 1Enable microplanning for a form
- 2Open Geographic areas and select the organization, project, and form
- 3Upload or draw catchment areas
- 4Review and edit area information
- 5Assign areas and colors to field users
- 6Collect data and review tracking
- 7Monitor progress from Overview
Enable microplanning for a form
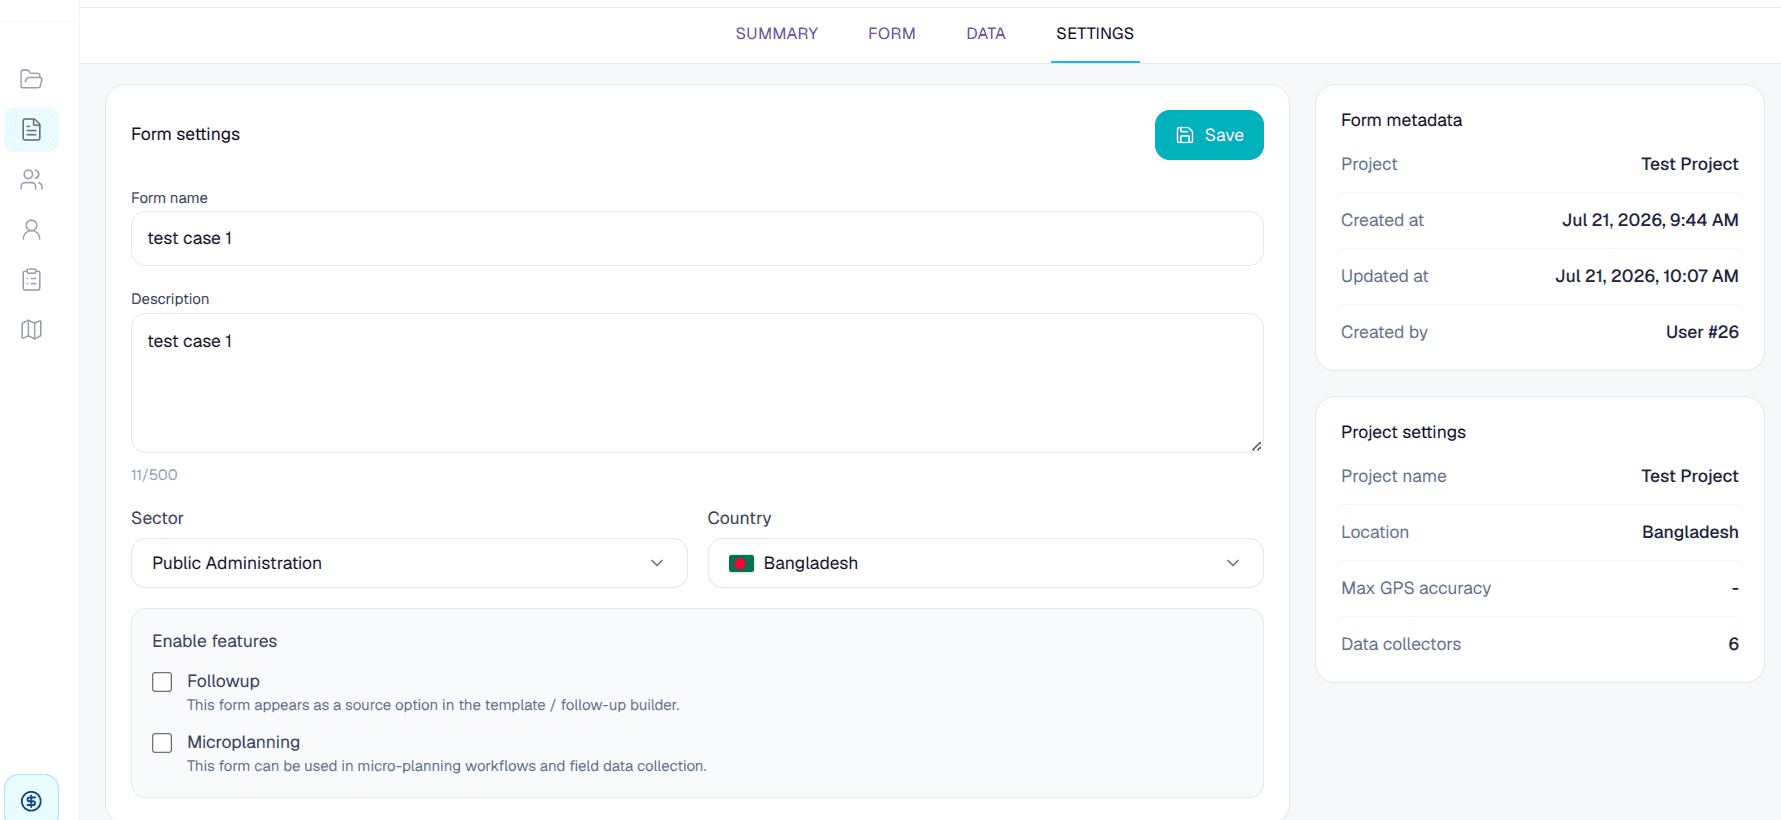
Before using Upload KML, Draw Area, assignments, or tracking, enable the Microplanning feature in the form settings. Forms without this feature do not appear in the Micro-planning workspace.
- 1.For an existing form, open Forms, then All forms, and select the form you want to configure.
- 2.For a new form, open Forms, then Create form, and build the required questionnaire.
- 3.Open the Settings tab in the form workspace.
- 4.Enable the Microplanning option, then save the form.


Open the Geographic areas workspace
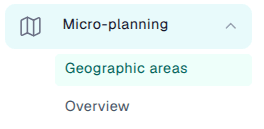
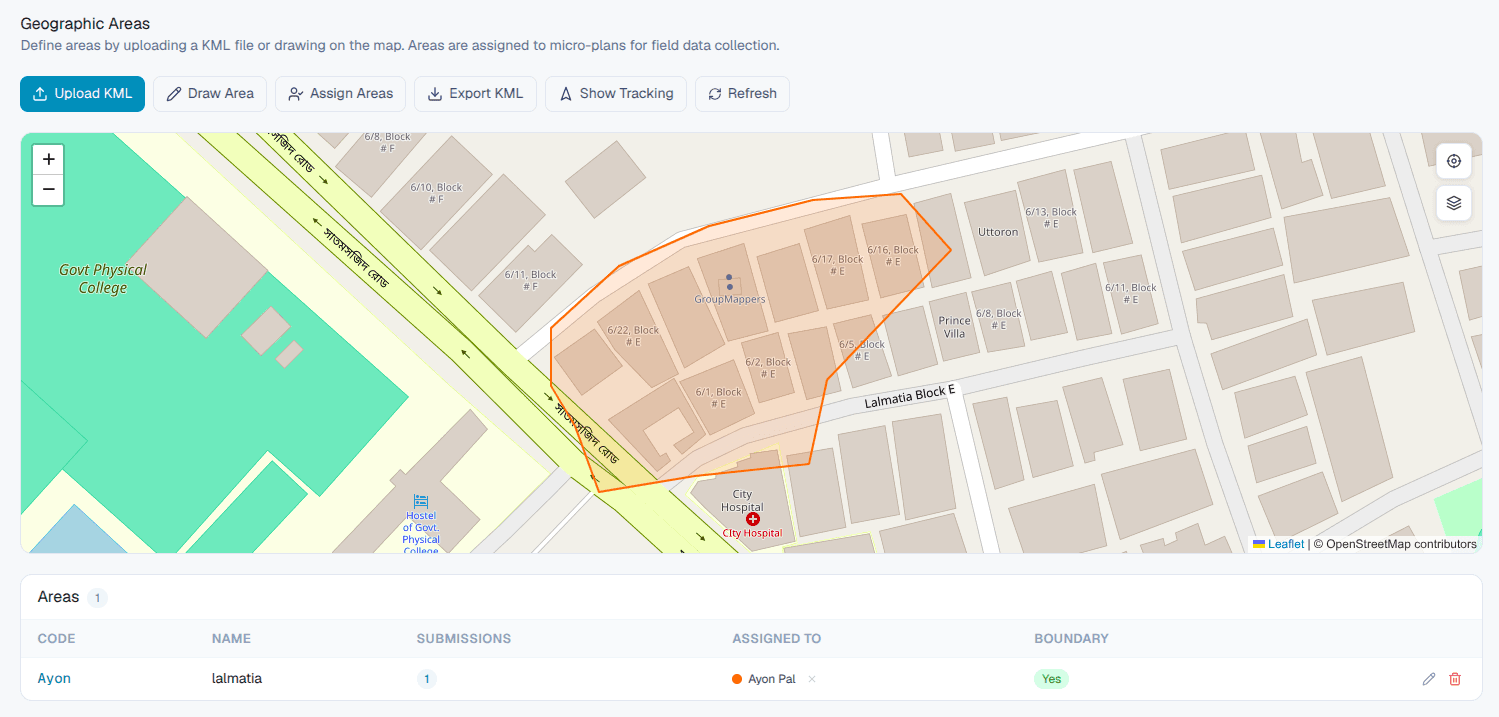
Geographic areas is the main spatial workspace for boundaries, assignments, and map settings. Open it from the Micro-planning section in the left navigation.
- 1.In the left sidebar, open Micro-planning, then select Geographic areas.
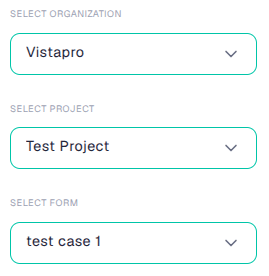
- 2.Choose the organization from the first selector.
- 3.Choose the project from the second selector.
- 4.Choose a Microplanning-enabled form from the third selector.
Upload or draw geographic areas
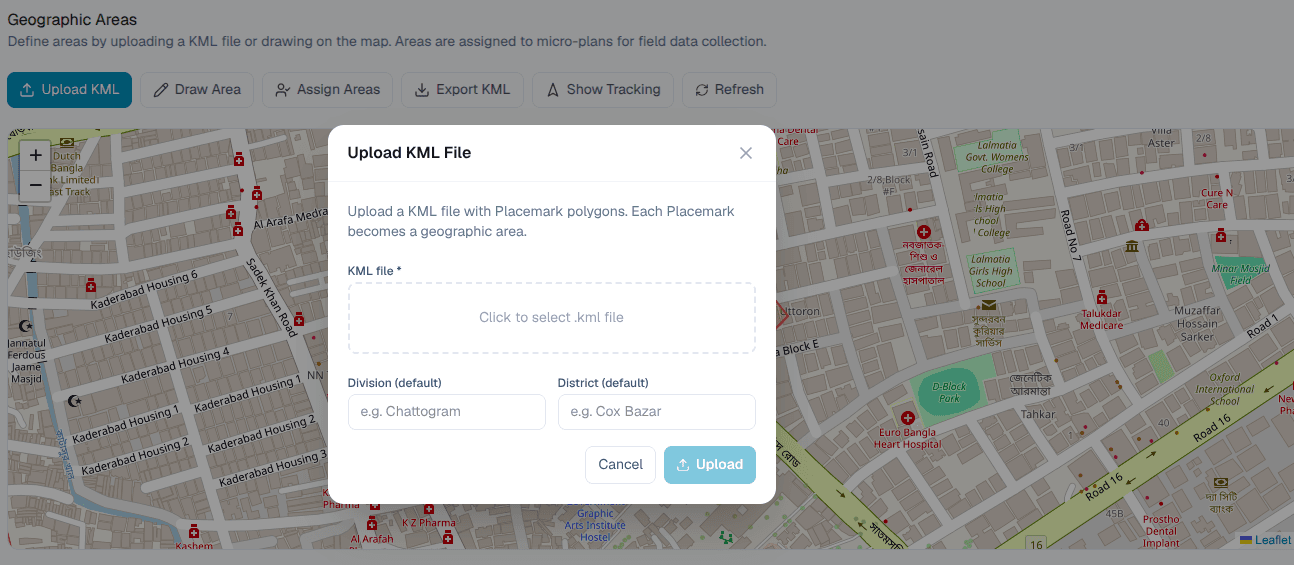
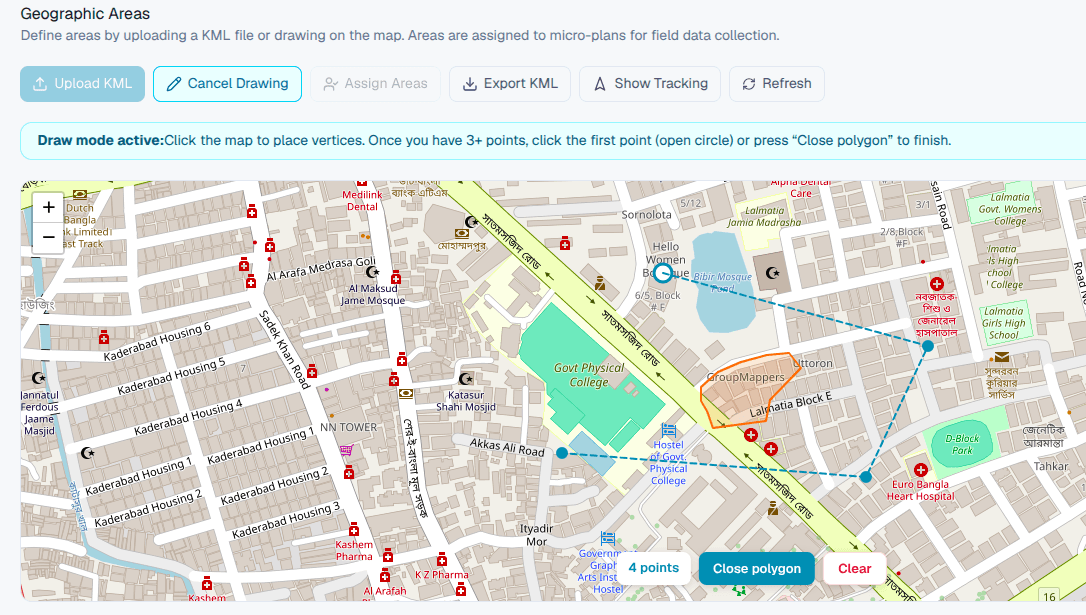
Use Upload KML when boundaries already exist in Google Earth, ArcGIS, QGIS, or another GIS tool. Use Draw Area when you need to delineate a new operational boundary directly on the map.
- 1.To import boundaries, click Upload KML and choose a .kml or .kmz file.
- 2.To create a boundary manually, click Draw Area and click around the perimeter on the map.
- 3.Double-click the final point to complete a drawn polygon.
- 4.Use Refresh to fetch the latest boundaries and assignments from the server.
Assign areas to field users
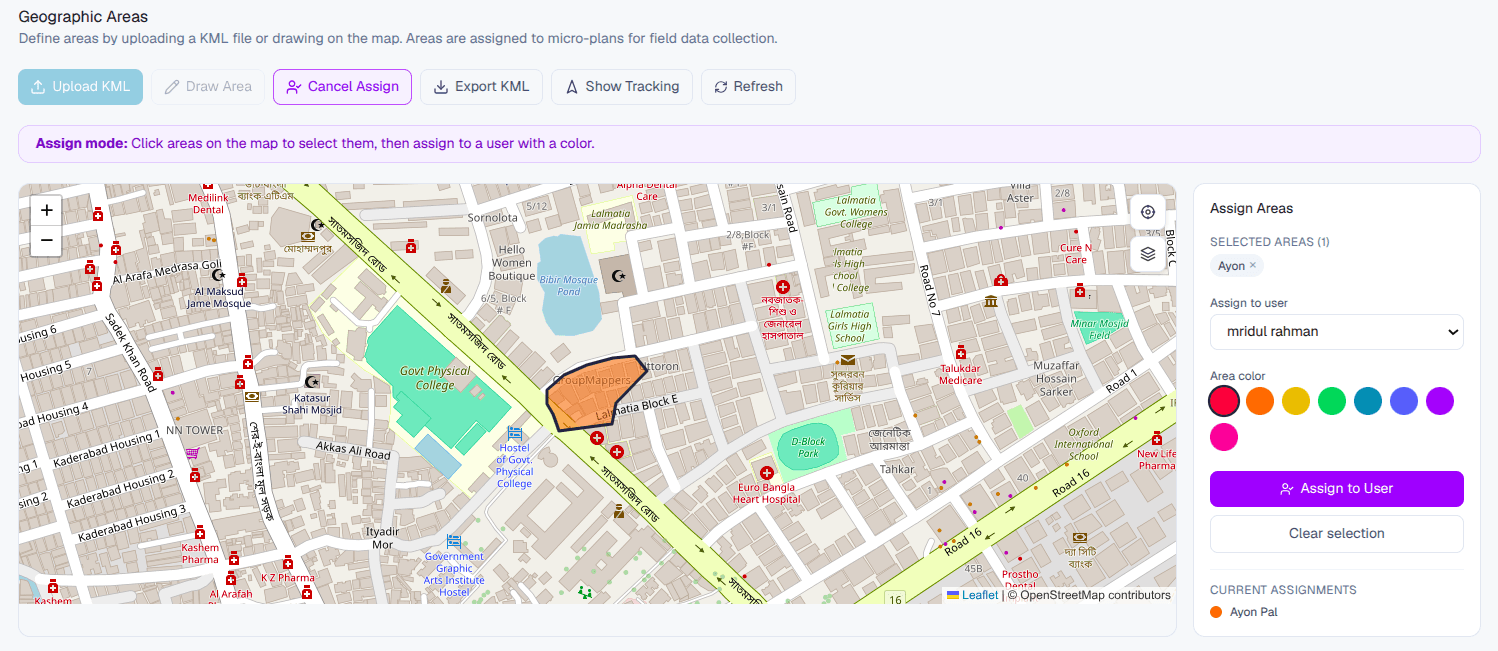
Select one or more polygons on the map, choose a field user, and apply a color. The color makes each user's operational territory easy to distinguish.
- 1.Click one or more polygons on the map. Confirm the number shown under Selected Areas.
- 2.Open Assign to user and choose the target field user.
- 3.Choose an Area color for the assignment.
- 4.Click Assign to User. The selected polygons update with the chosen color.
- 5.Use Clear selection when you want to start a new selection.
Use tracking and map controls
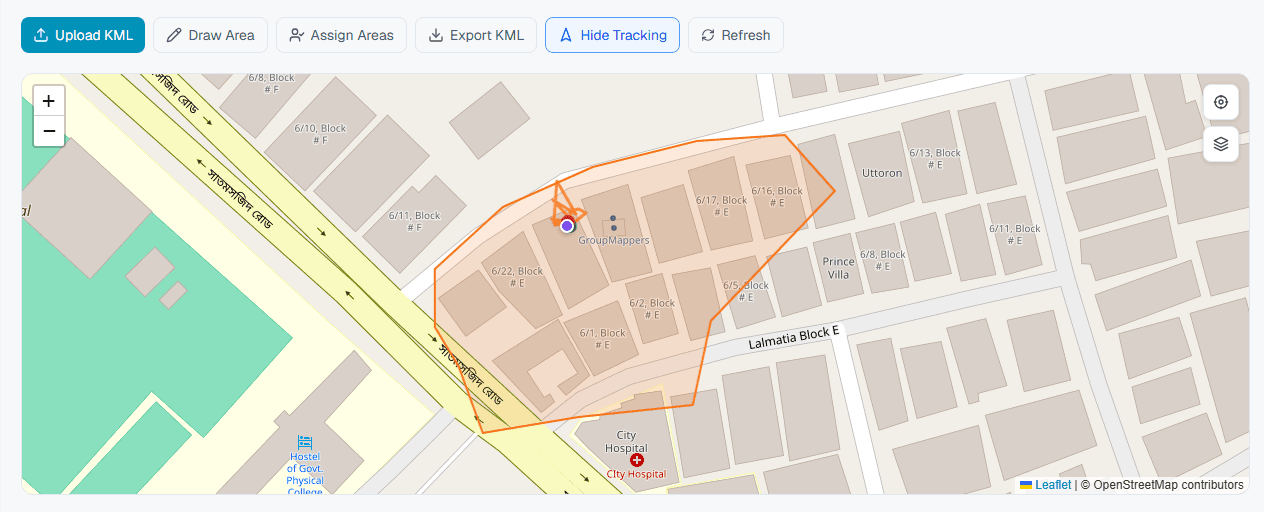
The map includes controls for navigation, base layers, and field activity. Show Tracking overlays available GPS routes, movement paths, and submission locations from the mobile application.
- 1.Click Show Tracking to display available field activity on the map.
- 2.Use the plus and minus controls to zoom in or out.
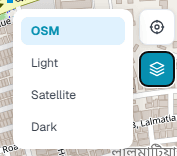
- 3.Open the layer switcher to change between the street map and satellite imagery.
Edit or delete areas
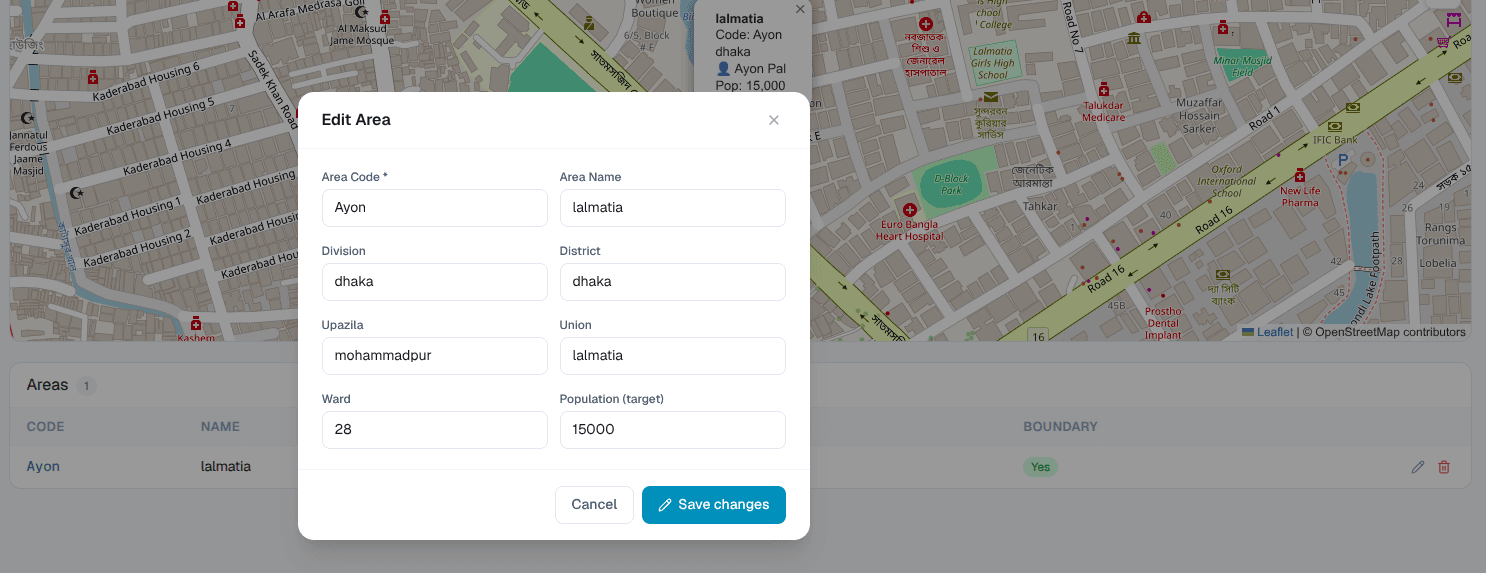
The Areas list below the map shows each area's code, name, submission count, assigned user, boundary status, and available actions.
- 1.Scroll to the Areas list and locate the target area.
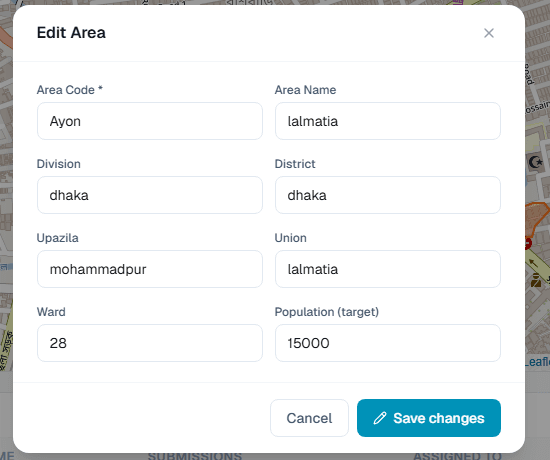
- 2.Click the pencil icon to edit its code, name, administrative hierarchy, or target population.
- 3.Click Save changes when the area information is complete.
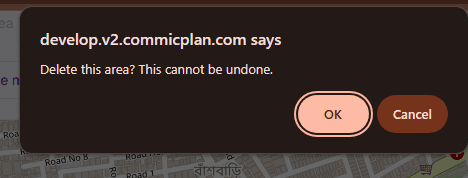
- 4.To remove an area, click the trash icon and confirm the deletion prompt.

Monitor progress from Overview
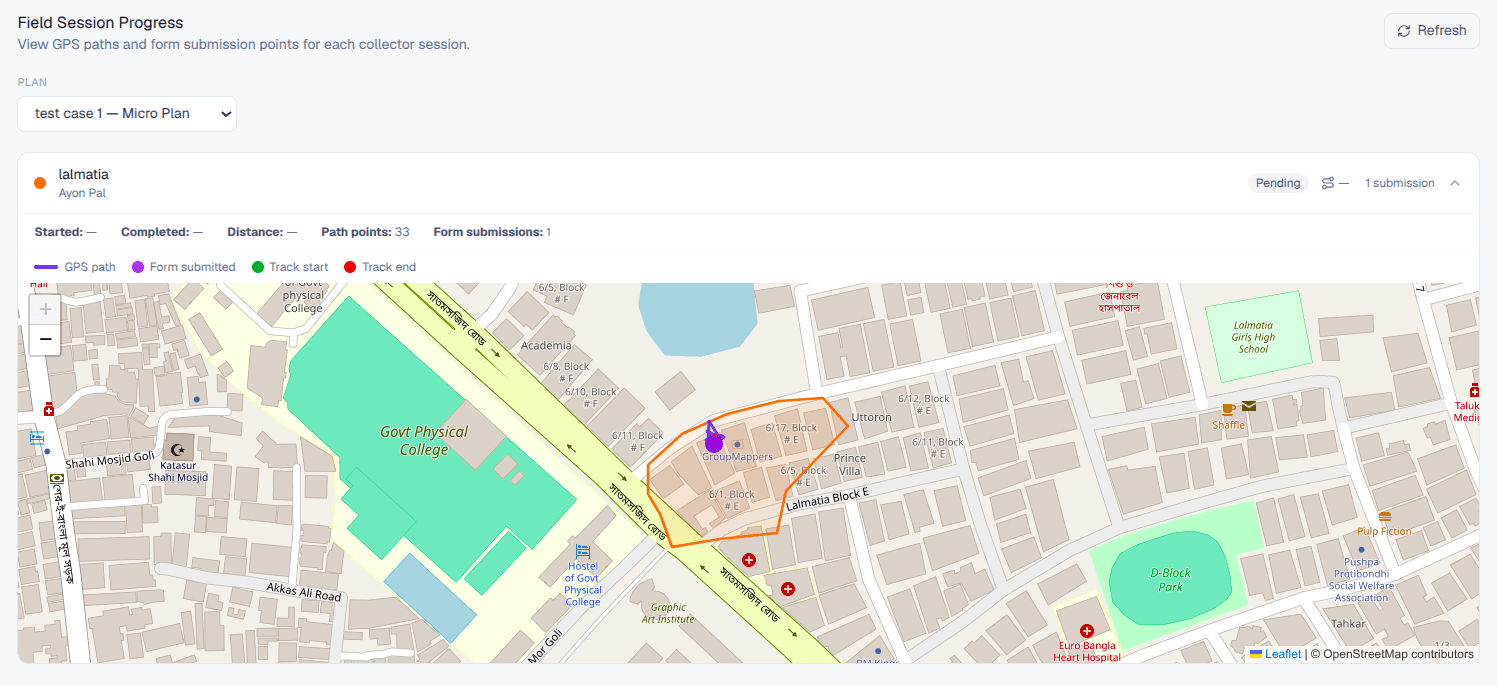
The Overview dashboard gives project managers a high-level view of spatial coverage, assignments, submissions, completion progress, and active enumerators for a selected plan.
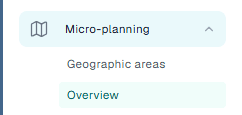
- 1.In the left sidebar, open Micro-planning, then select Overview.
- 2.Open the Plan selector at the top of the page.
- 3.Choose the micro-plan you want to review.
- 4.Review total areas, assigned and unassigned areas, submission progress, and enumerator activity.

Complete operational workflow
- 1Create a new form or select an existing form
- 2Enable Microplanning in the form settings
- 3Select the organization, project, and form in Geographic areas
- 4Upload or draw areas and update their metadata
- 5Assign areas and colors to field users
- 6Collect field data and use Show Tracking
- 7Select the plan in Overview and monitor completion
Continue tutorials
View all
6 steps
Getting started with the platform
Follow the full setup path from account registration through organization, project, form, user, and assignment work.
3 steps
Creating your first project
Create a project inside the organization, connect forms, and prepare the workspace for field activity.
Complete guide
Create your first form
Create forms from scratch or XLSForm, then build a complete questionnaire with data types, options, logic, constraints, groups, repeats, cloning, preview, validation, and save.
Complete guide
Mobile app user manual
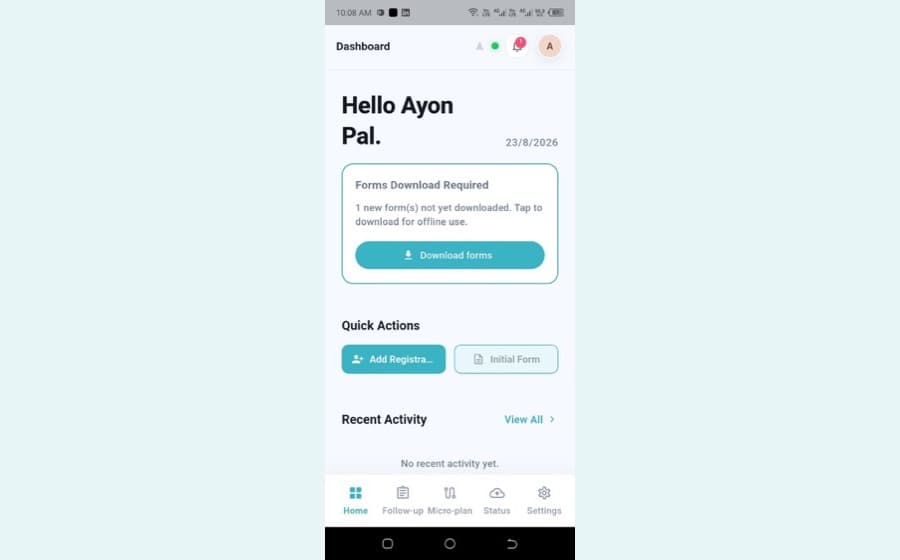
Log in, grant permissions, read the dashboard and navigation bar, add registrations with NID capture, work through follow-ups, track microplanning areas, and check status and settings.